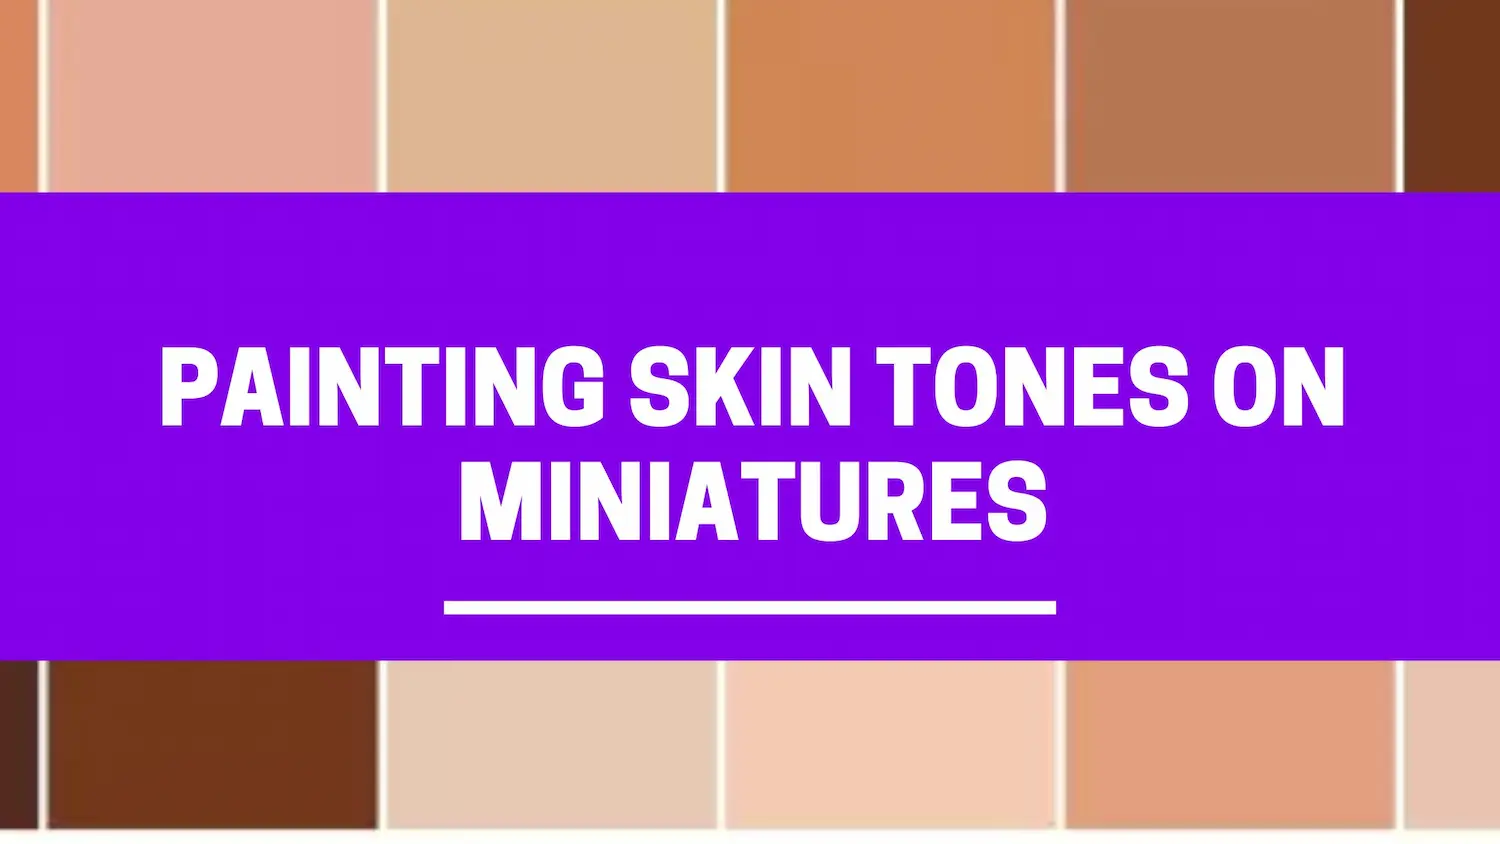
Unleash Your Creativity with Realistic Skin Tones for Miniatures
As a miniature painting enthusiast, achieving realistic skin tones can be one of the most rewarding yet challenging aspects of your hobby. Realistic skin tones bring your miniatures to life with an organic, nuanced appearance. In this guide, we will explore how to create and work with various skin tones, from basic to advanced techniques.

Crafting Realistic Skin Tones: The Artistic Journey
Before delving into the techniques, it is essential to understand that there is no universal “flesh color”: it varies according to different races and individuals. This diversity allows you to create your unique skin tones. In this article, we will not provide a step-by-step tutorial; instead, we will explore the principles behind creating captivating skin tones.
Embrace Your Artistry, Move Beyond Paint Sets
While paint sets labeled “flesh tones” are available, relying solely on these can limit your creativity. These sets offer a starting point but can lead to a formulaic approach that lacks the authenticity and vitality of handmade mixes.
Creación de tonos de piel: comenzando con los colores primarios

Let’s start with the basics. Forget about formulas and recipes. On your wet palette, apply primary colors: red, yellow, blue, and a touch of white.
- Mix Yellow and Red: Combine these to create an orange base, and experiment with different proportions. Gradually add white to desaturate the color and achieve a flesh tone.
- Introduzca un toque de azul: agregue una pequeña cantidad de azul a una porción de la mezcla. El azul enfría el color y lo desatura, ayudándote a crear un tono de piel más natural.
These blends form the basis for a wide range of skin tones, giving you various shades and gradients.

Simplifying the process with desaturated base tones
Working with desaturated base tones can make achieving the desired skin tone easier. Instead of starting with primary colors, begin with desaturated hues that mimic the subdued orange of flesh tones.
- Substitute Yellow with Ocher: Use ocher as a substitute for yellow, or any “yellow-ochre” tone.
- Experiment with Reds: Replace primary red with dark red, reddish brown, or even purple (which contains red).
- Bring in a Dark Blue: Use a dark blue to match the intensity of the previous tones.
While white can remain in your palette, using off-white with a hint of yellow is a viable option.
The Power of Artistic Freedom
Blending your skin tones allows you to tailor them precisely to your needs. Whether you want a darker base skin tone, a warmer tone or a lighter skin tone, you can achieve this with ease.

Restoring Color and Saturation
If you ever find yourself with skin tones that lack contrast, appear too cool, or have been over-highlighted with white, don’t fret. You can restore color and saturation by adding primary colors to the mix:
- Mix yellow and red: If it’s too intense, add blue.
- Mix red and blue: Add yellow to achieve balance.
- Mezclar amarillo y azul: Neutralízalo introduciendo un toque de rojo.
Trabajar constantemente con los mismos tres colores primarios te permite afinar tus tonos de piel.
Enhance existing skin tones
If you’ve already applied a flesh tone and need to enhance it, consider using filters with an orange tone. This can bring warmth back to your miniatures without needing to repaint.
Understanding skin tone diversity
Skin tones come in a multitude of shades. To simplify your painting process, we’ve categorized them into three common groups:
Light Skin Tone
- Start with pale, pinkish tones with minimal yellow undertones.
- Use a lot of white for highlights.
- Para las sombras incorpora tonos violáceos o violetas.

Medium Skin Tone
- Begin with intense oranges or ocher tones.
- For highlights, use yellow-orange and some white.
- For shadows, experiment with various brown shades, from reddish to earthy brown.
Dark Skin Tone
- For dark skin, work with dark ocher, dark red, and dark blue.
- Mix dark ocher and white, and dark red and yellow.
- Introduce blue, violet, or purple to darken the color.
- Gradually add white and ocher to lighten it.
Adjust these tones based on the ethnicity you’re replicating (e.g., blue for black, yellow for Asian, or red for Indian skin tones).

Unleash Your Creativity with Realistic Skin Tones
In the world of miniature painting, you have the freedom to create and experiment with an array of harmonious skin tones. While paint sets can provide a useful starting point, don’t hesitate to mix and match colors, seeking nuance and consistency to achieve truly unique and vibrant results.
Frequently Asked Questions (FAQs)
1. What’s the key to painting realistic skin tones on miniatures?
The key lies in understanding color theory and working with primary colors. Mixing red, yellow, blue, and white in varying proportions allows you to craft authentic flesh tones.
2. Can I achieve realistic skin tones with paint sets?
Paint sets labeled “flesh tones” can serve as a convenient starting point. However, for a more creative and authentic approach, consider mixing your skin tones using primary colors.
3. How do I restore color to over-highlighted skin tones?
If you’ve over-highlighted with white, you can restore color by adding primary colors to the mix. For instance, adding a touch of blue to the mix can balance out overly bright skin tones.
4. What are the best practices for painting different skin tones?
Different skin tones, such as light, medium, and dark, require specific color combinations. Understanding the unique characteristics of each skin tone category will help you achieve more realistic results.
Explore the Art of Miniature Painting with STARBRUSH STUDIO
Get ready to elevate your miniature painting skills to the next level with STARBRUSH STUDIO. Unleash your creativity and master the art of crafting lifelike skin tones on your miniatures. Discover more exciting techniques, tutorials, and painting essentials with STARBRUSH STUDIO.


